
Going digital: a dentist's first-90-days plan
Buying a scanner is easy; making it a habit is where people stall. The distance between "we own a scanner" and "we scan everything" is exactly where the value hides — here's the plan we'd hand a dentist on day one to close that gap in three months.
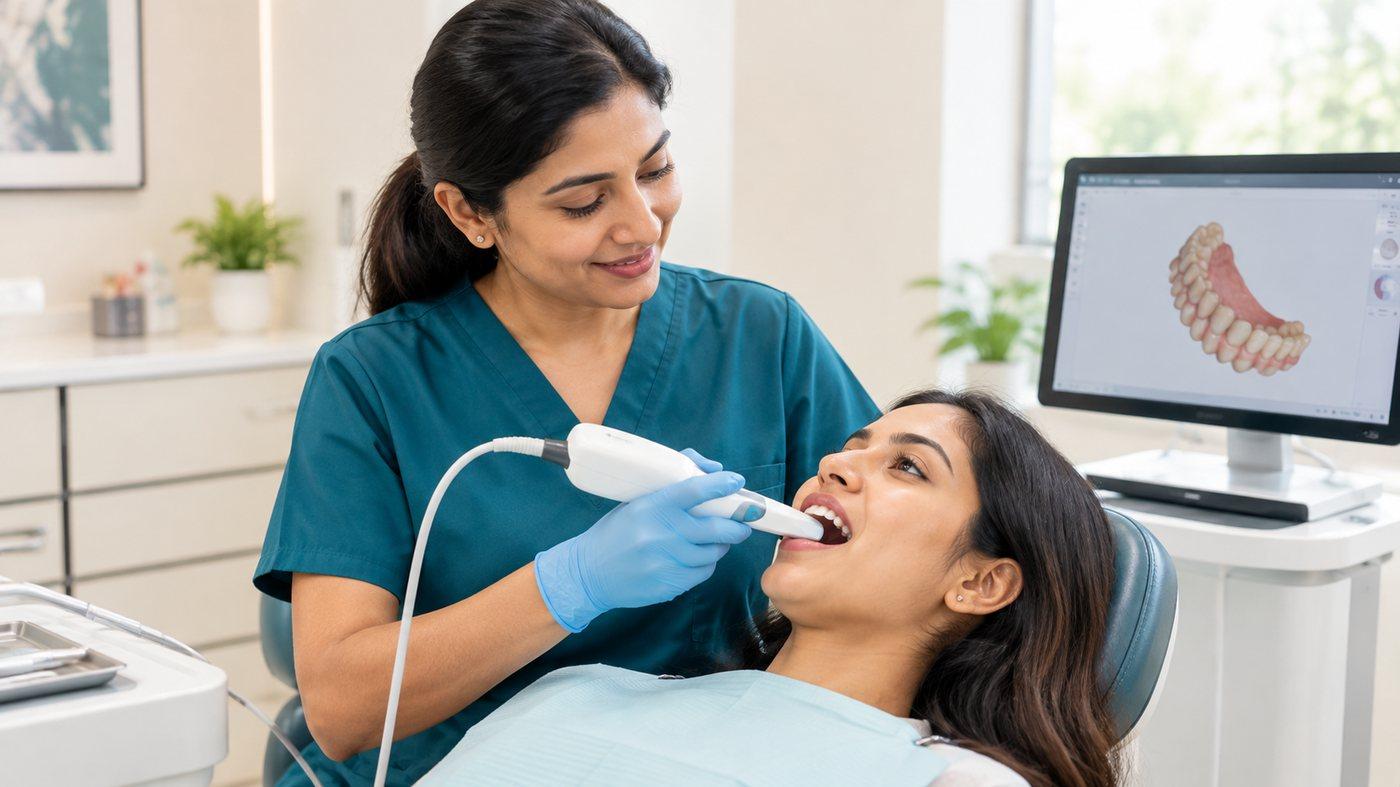
Set the target before you touch a patient
Decide what "digital" means for you at 90 days. The goal we'd set: most single-unit crown and bridge cases scanned, submitted digitally and tracked to delivery, with implants and full-arch following once the basics feel automatic. Write it down — it keeps the whole team pointed the same way.
Weeks 1–2 — reps, not real cases
Our strongest early opinion: do not learn on paying patients. Finish the manufacturer onboarding properly, then do dozens of practice scans on models and on each other. Standardise the boring things — where the scanner lives, who sleeves the tip, how a case gets named — and confirm the full pipeline works end to end: scan, export a standard file, send it to your lab, and have them confirm it opens cleanly. Muscle memory built here pays back for years.
Weeks 3–4 — first cases, chosen for success
Start where digital is most forgiving, because early confidence is fragile:
- Single posterior crowns on well-isolated preps.
- Cases with clear, dry margins and good access.
Leave alone, for now: deep sub-gingival margins, heavy bleeders and full-arch. Send a couple of these first cases as calibration cases and ask your lab — genuinely — how the scans look. We'd far rather give two minutes of candid feedback on margin capture than silently remake and let a bad habit set.
Month 2 — volume and a fixed routine
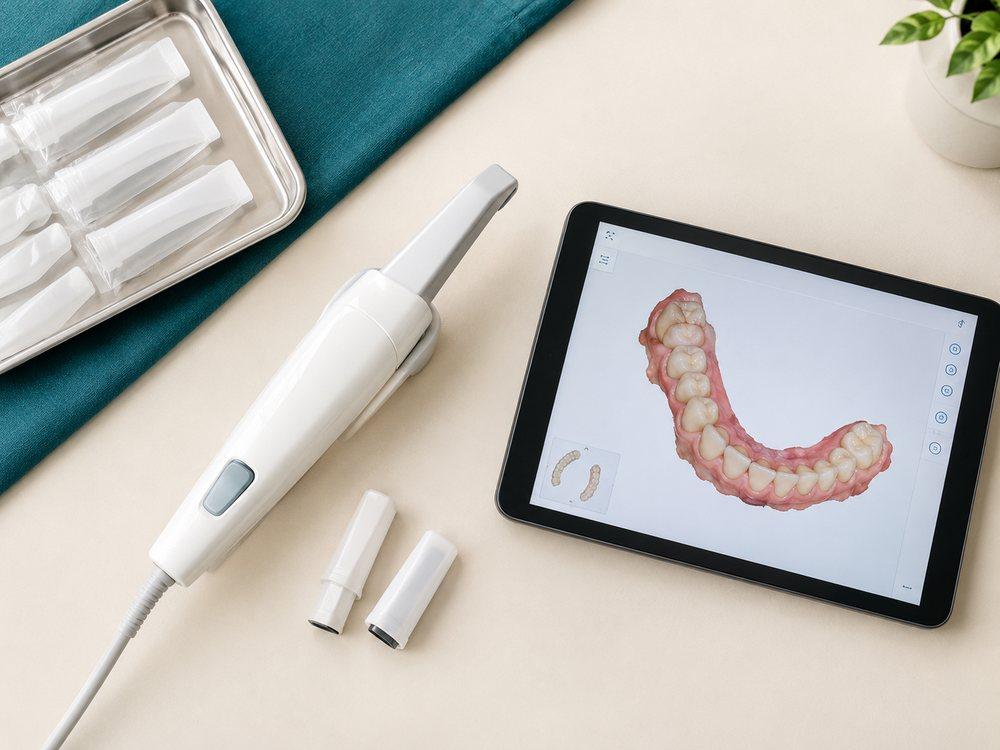
Push to scan every suitable single unit, and lock a prep-and-scan routine: isolate, dry the field, capture margins last and deliberately, take the opposing arch and a true bite. Add photos to the ritual — a shade tab in frame, a retracted shot. It costs seconds and prevents remakes, and it's the cheapest quality upgrade we know. Start tracking your remake and adjustment rate now, so you can prove the improvement to yourself later.
Month 3 — expand and count the wins
Bring in implant scans (scan bodies) and short-span bridges once single units are routine. Then actually add it up: chair time saved, remakes avoided, impression material and courier costs gone, and the patient reaction to "no goopy tray." Decide your next capability — same-visit provisionals, digital dentures, smile-design planning — and book the training rather than drifting.
The five mistakes we watch people make
- Skipping onboarding — the most common reason a good scanner underperforms.
- Scanning a wet field — moisture control matters more digitally, not less.
- Starting on hard cases — full-arch in week one all but guarantees disappointment.
- Not standardising — if everyone scans their own way, quality is a coin toss.
- Going it alone — your lab has seen thousands of scans; not using them as a coach is a wasted resource.
Going digital fails for behavioural reasons, not technical ones. The scanners are good enough; the practices that succeed are the ones that pick easy cases first, standardise the routine, and lean on their lab for feedback in the first month. Do those three things and the habit sets in weeks. Skip them and the scanner becomes an expensive novelty.
How Jaw Experts fits in
We're built for exactly this transition. Submit a scan or book a pickup, get a case number and a live status you can watch to delivery, and message us on the case itself. Mid-transition? We'll take conventional impressions and help you cross over case by case — and a qualified dentist oversees the QC on what comes back, so your first digital cases come back right, which is what makes the habit stick.
Start your first case →