
Shade matching that survives the try-in
We can make a crown that fits perfectly and still comes back — because it doesn't match. Almost every miss traces back to how the shade was captured and communicated, not to the ceramics. So here's our candid guide to getting it right the first time.
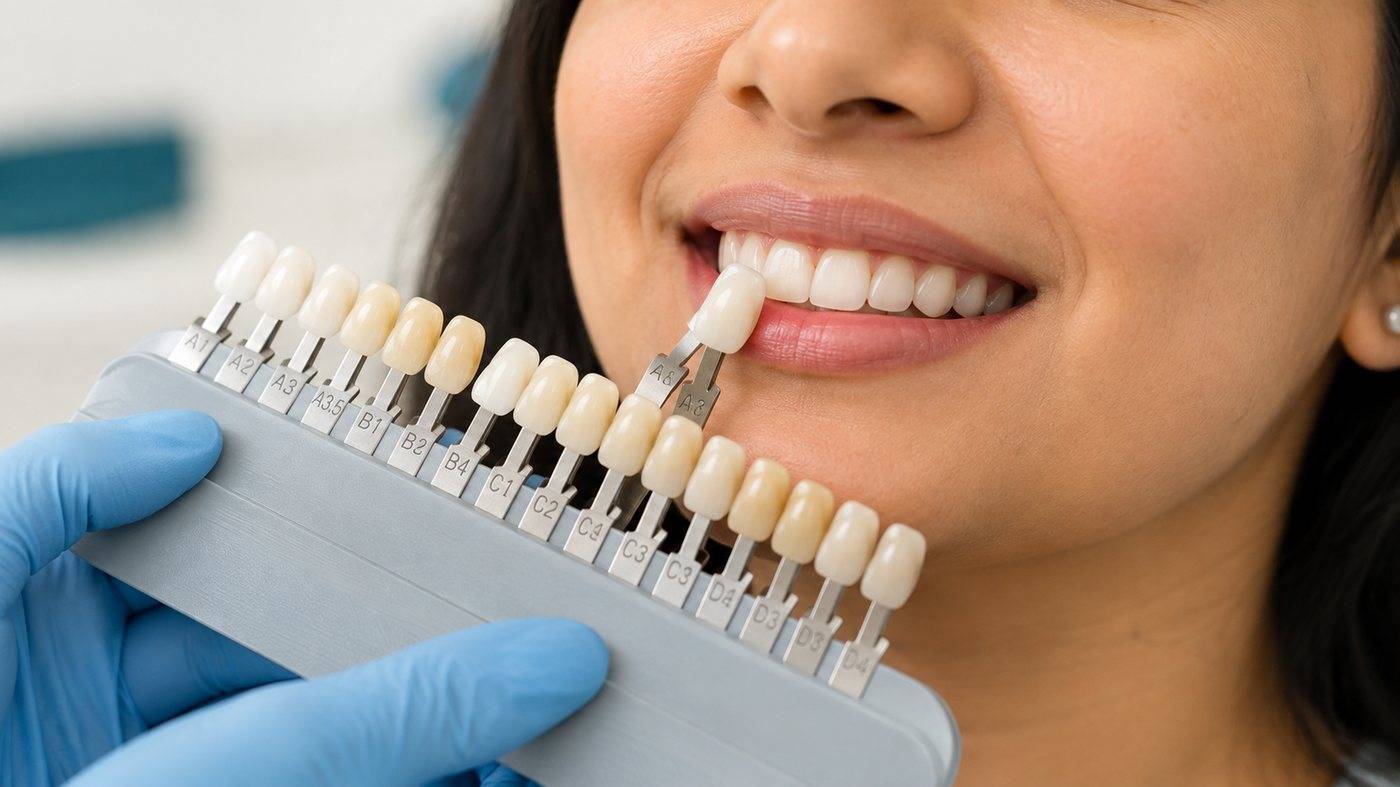
Why matches fail — our honest list
Three things cause most of the mismatches we see:
- Light. A shade taken under warm operatory light, or by a window, reads completely differently from daylight. Two shades that agree under one light can clash under another. Light is the quiet saboteur.
- Dehydration. Teeth lighten as they dry. Take the shade late in the appointment, after the tooth has sat isolated, and you'll pick something too light once it rehydrates — a mismatch that only appears days later.
- One tab, one glance. A single quick look at a single shade tab is a guess dressed up as a measurement.
The fundamentals we'd insist on
- Take the shade first — before you prep, before the tooth dries, before the patient's eyes tire.
- Use neutral, daylight-balanced light. Kill the colour cast from lipstick, a bright bib, or the room.
- Keep the tooth wet and compare against a hydrated neighbour.
- Glance, don't stare — the eye fatigues within seconds and drifts warmer.
- Compare at the level of the patient's mouth, not looking down at it.
Our strongest advice: let the camera do the work
If we could ask for one thing on every aesthetic case, it's a photo — because a good photo tells us more than any shade name ever will. What we genuinely want to receive:
- A shade tab (or two) held in the same frame as the tooth, edges aligned. That gives us a known reference to read your lighting and camera against — the difference between guessing and calibrating.
- A cross-polarized or polarized image if you have a filter. It cuts the surface glare and shows us the true internal colour, value and character — mamelons, translucency, white flecks, cracks.
- A wet, retracted, well-lit close-up, plus one of the tooth in the smile for context.
Our rule, and we mean it: never send a shade name without a photo, and never send a photo without a reference tab in it.
Talk to us like we're in the room
Give the ceramist a picture, not a letter — a quick shade map beats a lone "A2":
- The base shade plus any cervical/incisal variation.
- Characterizations to reproduce or tone down.
- Value (brightness) — in our view, often more decisive for a natural result than hue.
- The material and, for translucent ones, the stump shade.
- Whether the patient wants to match the neighbours or go lighter — settle that before we fabricate.
Don't forget what's under the crown
For translucent materials — lithium disilicate especially, and high-translucency zirconia — the prep colour shows through. A dark stump, discoloured dentine or a metal post will drag the result off-shade no matter how good our ceramics are. So record the stump (prep) shade and send it; it lets us plan opacity and cement shade instead of being surprised by them.
Set the patient's expectation early
Agree the target with the patient before the case is made. "Match the tooth next to it" and "make them brighter" are two different jobs, and the moment to discover which they wanted is before the try-in, not at it. If they're whitening, do it first, let it settle, then shade.
Shade isn't a lab problem or a dentist problem — it's a communication problem, and it's almost entirely winnable at the chair. Spend the ninety seconds: take it early, in good light, on a wet tooth, and send us a polarized photo with a tab in the frame. Do that and try-in surprises very nearly disappear.
How Jaw Experts fits in
Attach your shade photos and stump shade straight to the case — they stay on it, next to the prescription, for the ceramist and for the record. A qualified dentist oversees the shade as part of QC, and if something in your photos contradicts itself — a light shade name over a dark stump, say — we'll query it before we fabricate, not after your patient is back in the chair.
Send us a case →